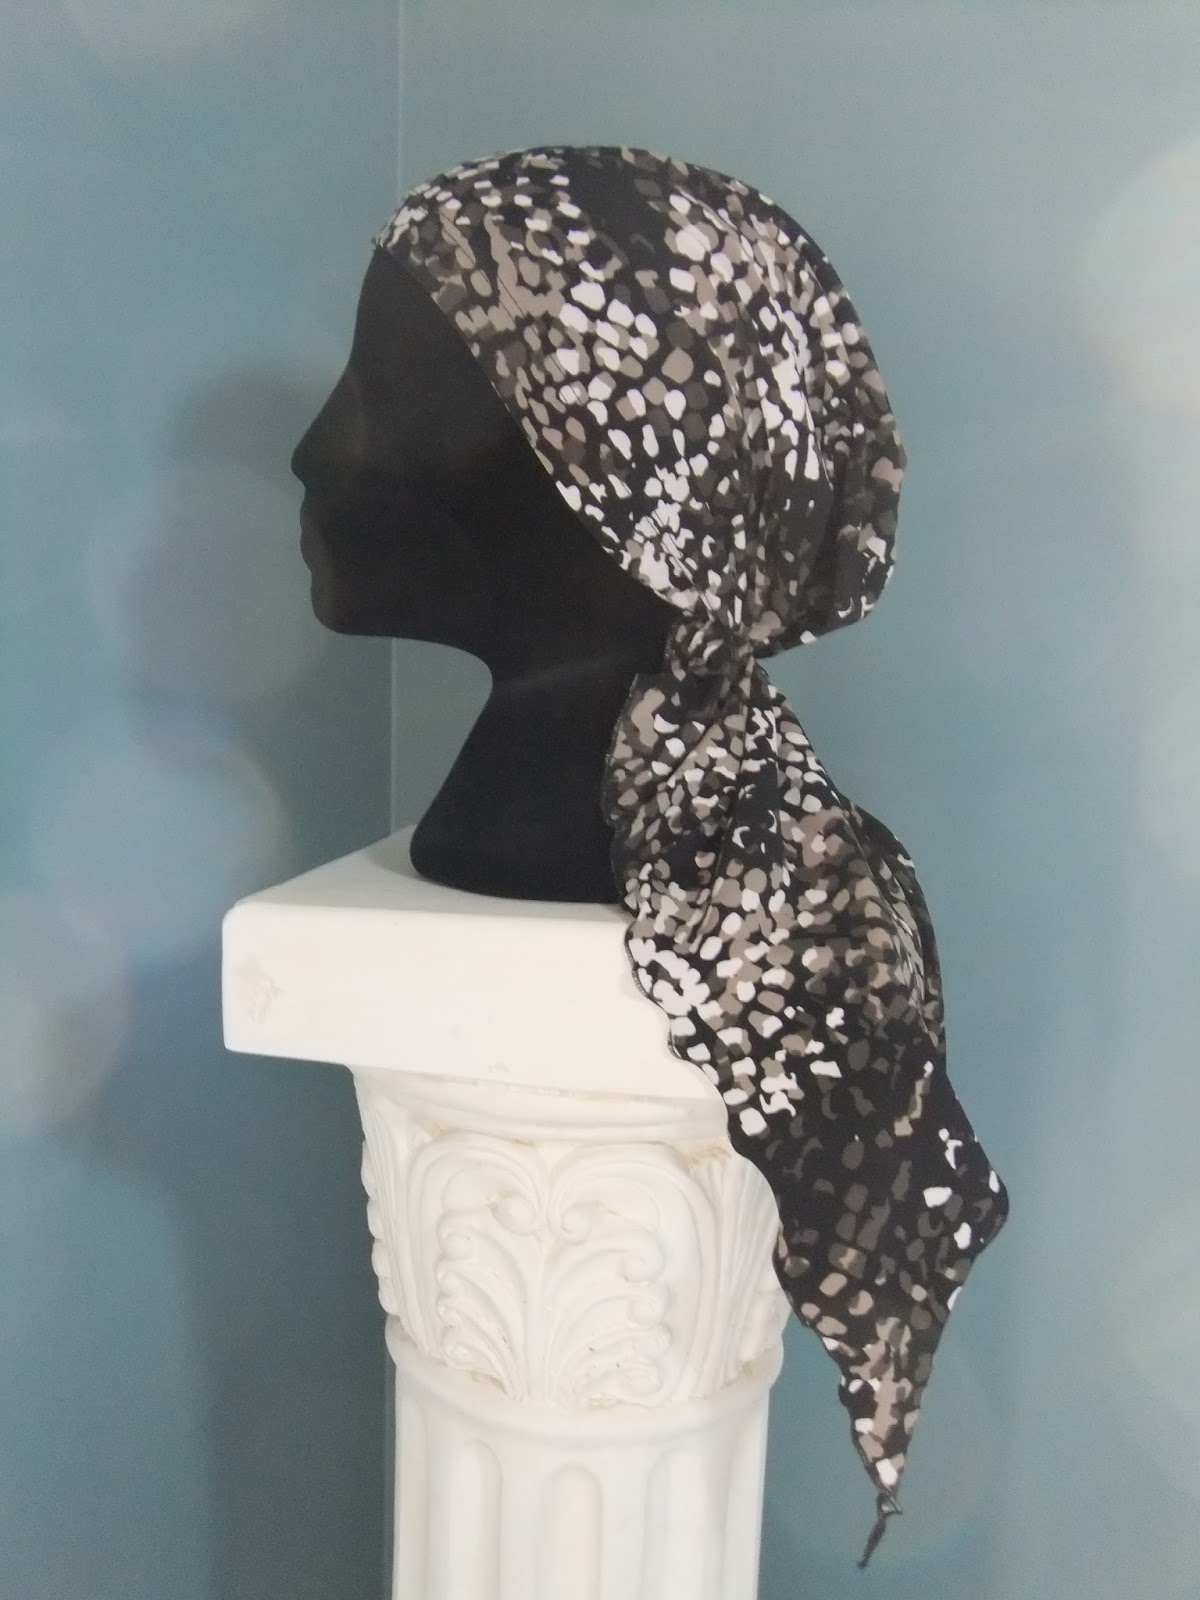
Monday, November 16, 2015

More hats

Since I used scraps to make my hats they often ended up having two seams. And to hide those seams I made headbands/hatbands. I played around with different styles based on how much fabric I had to work with. I'll try to add the pattern I used soon too. Pattern can now be found here Free Chemo Hat Pattern , sewing tutorial is here Chemo hat tutorial

Sweater knit


Sweater knit, headband has lettuce edge.


Sweater knit
ITY knit


Ottoman knit, flower has fabric covered button for the center.
Ottoman knit


Stretch Velour

Even more scarves and a few hats

I made some more scarves and found that I had just enough scraps to make some hats as well. For the hat pattern I used the pattern by idareyoutoeatit.com . I had to modify the pattern because my knit behaved differently and I used lining so my hats were assembled differently but it's still a basic beanie pattern. My altered hat pattern can now me found here Free Chemo Hat Pattern, tutorial for sewing is here Free chemo Hat Sewing Tutorial.
Tie dyed ribbed velour from 
Jaquard knit


ITY knit
ITY knit
Teal ITY knit


ITY knit
Sweater knit

Free chemo cap pattern and tutorial. Free chemo hat sewing pattern. Free pattern for comfortable chemo head-covering. Free pattern for chemo scarf pattern that is as easy to wear as a hat. Free pattern for pretied chemo bandanna that is as easy to wear as a hat. free chemo cap Pattern only has one piece.

Friday, April 24, 2015

More scarves

Here are a few more that I made from different polyester knits. The purpose of the elastic in the back is to be able to gather the large amount of fabric. The stretch comes from the knit fabric itself, just make sure you place the pattern on the fabric so that stretch is in the same direction as straight hem.

Abstract houndstooth ITY knit
ITY knit


Raspberry crushed velour
Berry ribbed ottoman knit


Animal print ITY knit
Houndstooth ITY knit with slight sheen

The only difference to the original Free chemo scarf pattern is that I made the scarf ends pointy since it makes it easier to do the rolled hem.
The crushed velour came from Fashion Fabrics Club, all other fabrics were from FabricMart


Friday, September 5, 2014

Part 4 of No Tie Chemo Scarf

Gather on the gathering line, pull the thread until you reach the mark you made on the thread at 10". Knot the thread. Arrange the gathers evenly, it helps to use a ruler and the pin marking the center of scarf as reference.


Cut a piece of 1/2'' wide elastic at 7''. Mark the center and 1 1/2'' from each end.


Pin the elastic on the wrong side of scarf on the gathering line, lining up the center marks and leaving the 1 1/2'' ends hanging over.


Carefully put the scarf under sewing machine as to not to disturb the gathers. Hold on to the 1 1/2'' end of elastic and stretch out the elastic from the center mark. Backtack and sew a regular stitch while keeping the elastic taught.


Backstitch at the end and you should end up with this.


Trim the ends of elastic, you may use Fraycheck to prevent fraying. And you're done!


Thursday, September 4, 2014

Part 3 of No Tie Chemo Scarf

Cut the pattern on the gathering line. Place on the wrong side of your fabric taking into account that you have already turned up the 1'' hem. Mark around the pattern piece.


Flip pattern over and repeat for the other half.


Mark the center of the scarf with a pin.


Prepare a piece of thread for hand gathering by knotting it and measuring and marking it at 10".


Hand gather by using 3/4'' basting stitches on the line you marked.


Part 2 of No Tie Chemo Scarf

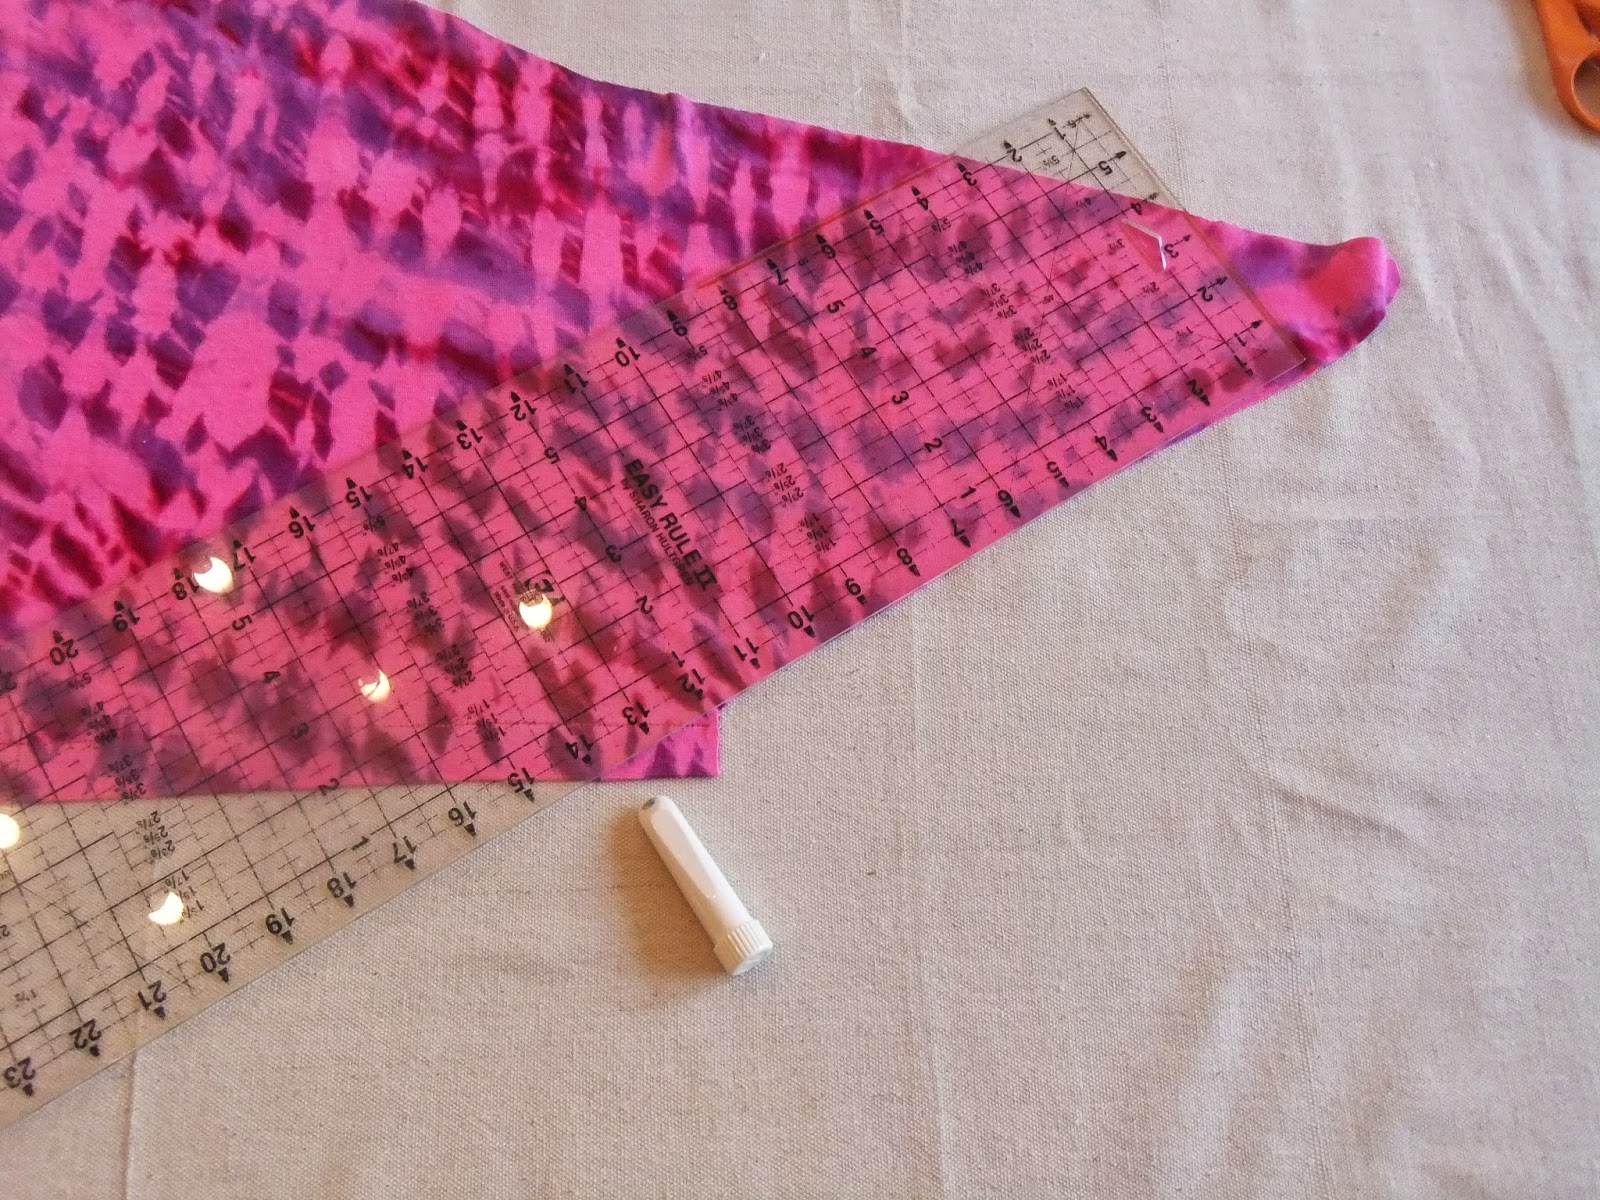
Trim off the triangles.
Finish off the rest of the raw edges. I used the rolled hem stitch on a serger. I find it very difficult to make the small turns on the tip of the scarf tails, but you can round off the tips some more to make it easier. You can also use bias tape or fold over elastic to finish the edges, do not use the rounded tips on the pattern if using that method.


Part 1 of No Tie Chemo Scarf


Please use these alternative patterns http://snipriphooray.blogspot.com/2018/02/substitute-patterns-for-pre-tied.html

Tutorial for No Tie chemo Scarf.
You may read here why the patterns are no longer free/available
 http://snipriphooray.blogspot.com/2017/01/good-deeds-will-not-go-unpunished.html
The pattern for personal use or for charitable purposes, you may not sell the pattern or items made from it.

You will need:
1/2 yard (18 inches) medium to lightweight knit fabric at least 46" wide
(If you are making more than one scarf then you can nestle the pattern pieces and you will need less fabric per scarf)
7'' of 1/2 inch wide elastic
thread
hand sewing needle
sewing machine
serger (optional)
mad skills (only kidding)

Print out all the pattern pieces. Set your printer to "no-scaling". Use the " 2" test square" to make sure you pattern printed out correctly.


Cut out pattern pieces and tape them together lining up the letters and diamonds.


Place pattern on fold of fabric.


Cut out leaving the shaded triangle.


Finish the straight edge by serging or use zig-zag or other stitch on your regular machine. Finishing the raw edge is not mandatory since most knits will not fray.


Fold 1'' hem to the wrong side of your fabric, press and stitch. You can use the stretch stitch, zig-zag, double needle - anything that will take a little bit of stretch.


Trim off the little shaded triangle area from the pattern. You can do that by placing a ruler on the scarf tail and marking a line on the hem. Or you can cut the triangle out from the pattern, fold up the hem on the pattern and place the pattern on your fabric and marking the line.